How To Install Metal Landscape Edging
Are you looking for how to install metal edging for your landscaping project?
It may be the fact that the metal landscape edging has really improved in the past decade and it has become more affordable for homeowners.
When I first planted by flower beds, I used the typical black plastic landscape edging you get from Lowes/Home Depot. It seemed fine, but I wasn’t thrilled by how it looked. I didn’t want to spend a lot of money but I also didn’t like the look of wood or brick edging.
I then came across metal landscape edging. It has a nice, clean look I wanted and was in my price range. I narrowed down the metal edging choices by installation ease, customer reviews, and finally by price.
I chose the EasyFlex Aluminum metal edging product. The customer reviews all highlighted how easy it was to install and how durable it was. The price, while higher than plastic or rubber, was still very inexpensive in my opinion. They will never rust and are made in the USA, two more positives!
I’ll go through the process of how I installed the EasyFlex Aluminum edging in my backyard flower beds. Even if you have a different product, this process may help you with your installation questions.
Table of Contents
As an Amazon Associate I earn from qualifying purchases.
Prepping Flower Bed For Edging
Tools Needed
- Garden Hose or Rope
- Lawn Edger Tool
- Square Shovel
- Loppers or Pruning Saw
- Hacksaw or Jig Saw with metal blade
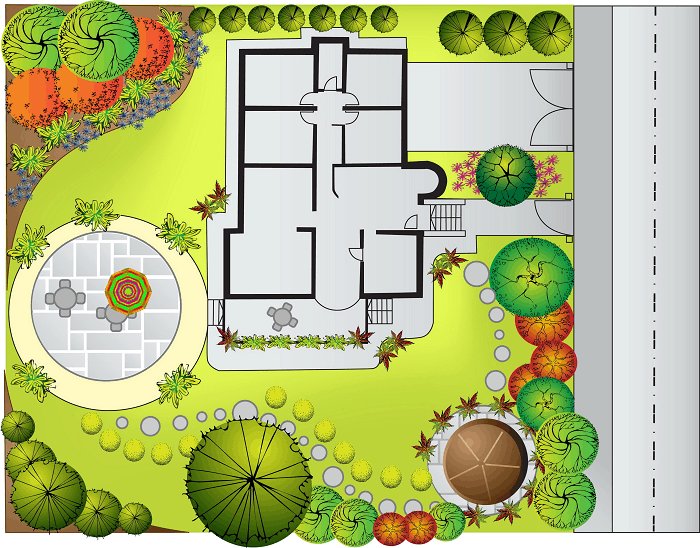
The first thing you should do is lay out where you want to install your landscape edging. I wanted natural curves rather than straight lines for my edging. I also wanted to increase my flower beds and decrease my grass footprint. In my haste to start the project, I didn’t take a picture of this process.
The easiest way to create your landscape edging layout is with a long garden hose. You need something that is long enough and sturdy enough to create your outline.
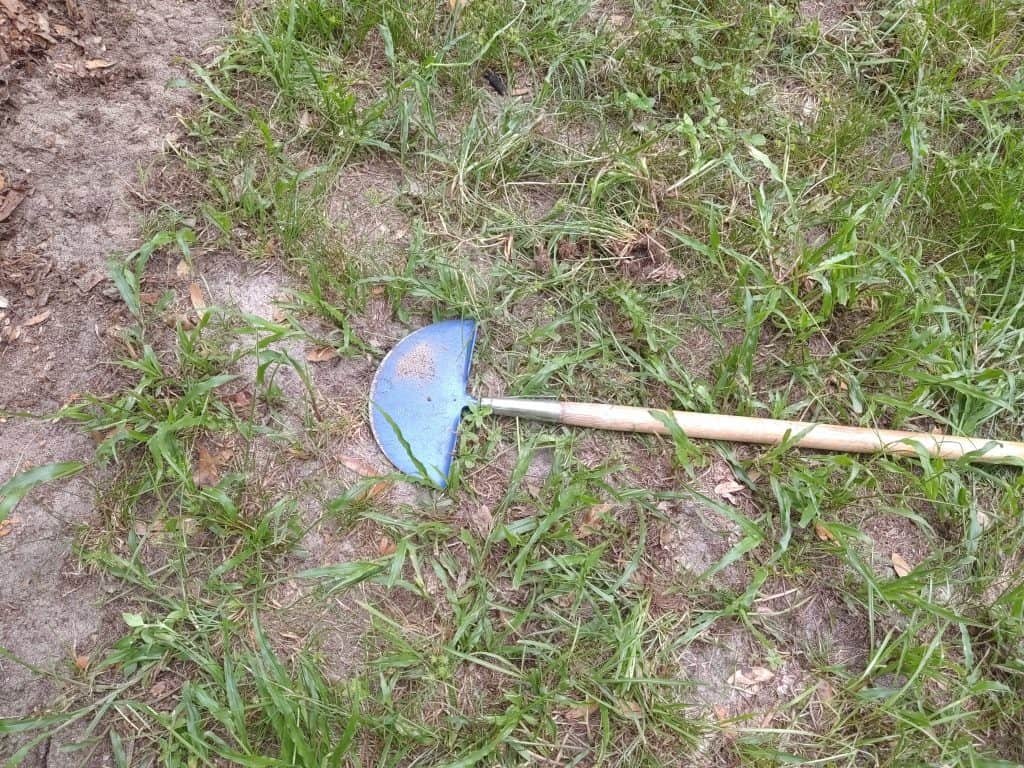
Once you know where your landscape edging will be placed, it’s now time to start digging. You will need a lawn edger tool and a shovel. The edging tool is used to create the outline where the metal edging will be placed. The shovel is used to create a small trench to place the metal edging.

Note: if you have a lot of trees near your flower beds you may hit a few roots along the way. If the roots aren’t very big, you can take a round shovel and cut them out of your way. If they are 1-2 inch diameter roots, you can cut them with a pruning lopper or a pruning folding saw.
With the garden hose still in place, you will step on the edging tool right next to it all along your outline. The edging tool works by going down 3-4 inches below the surface creating your landscape edge line.
Once you created your edge line, place your square shovel in the line and create a shallow trench about 2-3 inches deep. Keep any dirt you dig out near since you will use it to backfill against the installed metal edging.
Connecting the Metal Edging for Installation
I’ll be honest to say this was the hardest part of the entire installation other than hitting a few roots along the edging route.
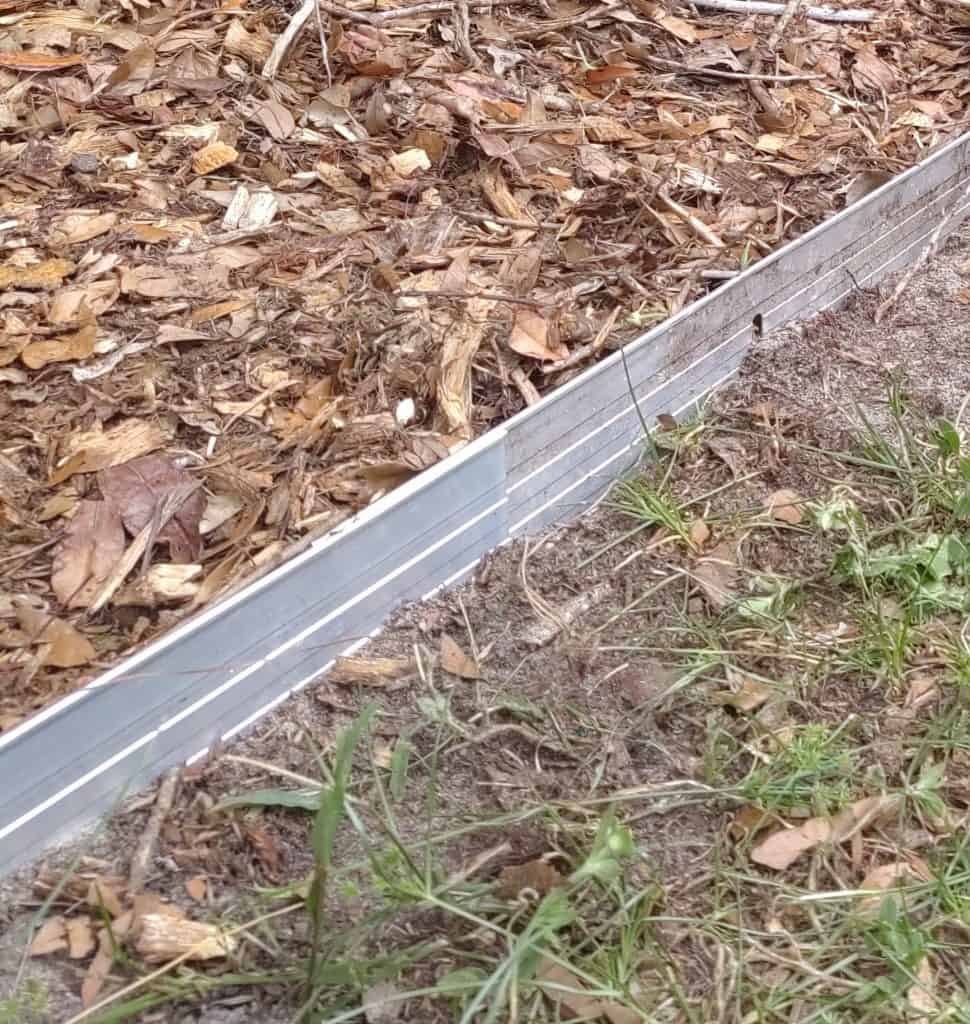
The Easy-Flex aluminum landscape edging slides together with grooves on both sides. I found it easier to slide the pieces together before putting it in the trench.
If dirt gets caked in the grooves, it is harder for the pieces to slide properly. But, you can’t put a lot of stress on the connection or it will pop loose. This is especially true on a very sharp curve.
You want the pieces to slide together a minimum of 2 inches but they recommend 4 inches. It will need to be closer to 6-8 inches or more if you have a sharp curve. Most sets have 4 sections that measure 6 ft.
Note: Depending on the design with the (4) sections fitted together, you may only get 22-23 linear feet of actual edging, even though the box says 24 feet. Take this into account when your calculating how many you need.
Securing the Metal Edging in the Ground
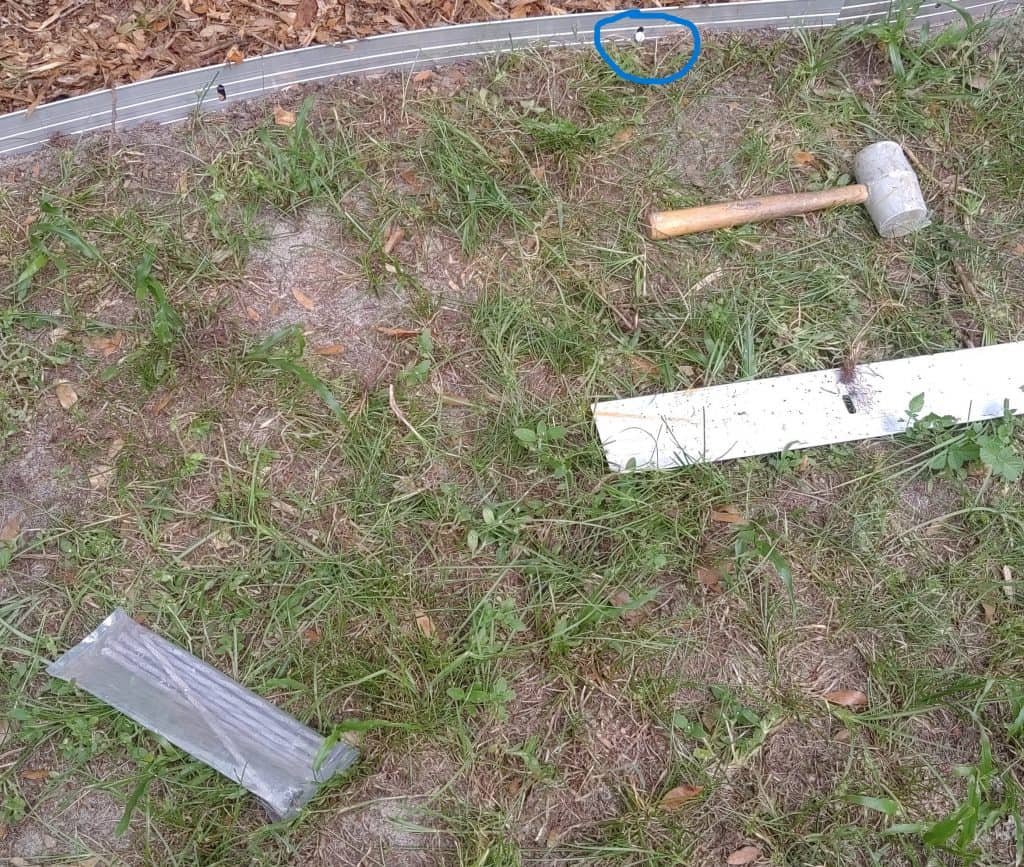
With the enclosed stakes, you’ll insert them at a 45 degree angle into the edging predrilled holes. Depending on your soil, you may need to tap them flush to the edging with a mallet or hammer.
We have sandy soil in Florida, so I was able to use my foot to install the stakes up to the last inch which I tapped with my mallet. If you have hard clay, you will definitely need to hammer them down.
Be careful when you insert the stakes that your edging doesn’t lean over. You may need to tamp down the dirt on the opposite side to support the edging to stay upright.
How To Cut Metal Landscape Edging
I was lucky that I didn’t have to cut the edging due to my design. If you’re not so lucky, don’t worry, it’s actually very easy.
Most metal landscape edging is fairly thin which makes it easy to cut through. If you don’t have power tools, a hacksaw will work just fine. Mark where you want to cut on the edging with a black sharpie.
Hold your edging firm in one hand while you taking long strokes with the hacksaw. Try to keep the edging secure while the hacksaw goes through the metal. The hardest part is starting the cut.
If you happen to have a jig saw, go buy a metal blade and it will cut through the edging like butter. Place the edging on a stable surface with the cut off section hanging off. Hold the edging firm in one hand throughout the cut. Let the cut off fall free and be careful when picking it up as it will be hot.
Note: Anytime you cut through metal, make sure you wear the proper PPE. Safety glasses are a must especially if you are using power tools. Metal shavings can fly anywhere.
Conclusion
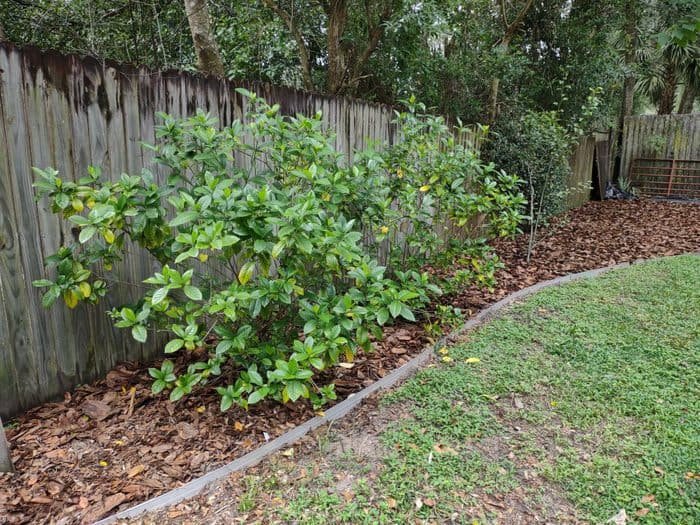
Stand back and enjoy your newly installed metal landscape edging. It’s amazing the difference your backyard flower beds look with a defined edge.
We love how our aluminum landscape edging looks in our backyard. After three years of being installed, they still look great and has kept their promise not to rust!