How to Start a Fire in a Fire Pit (Step by Step)
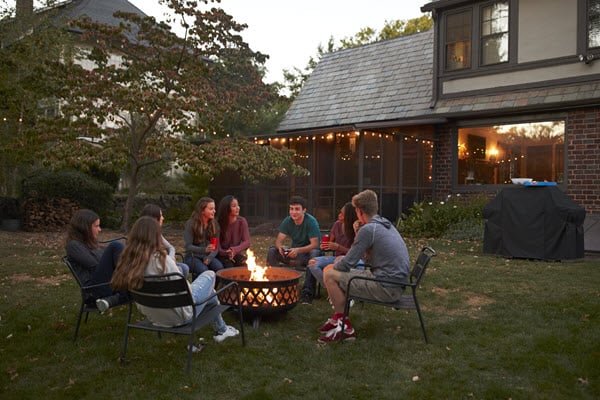
The roar of a fire burning late into the night can be a perfect way to spend your time after a long day or extend your friends and family get-together.
Both aesthetically pleasing and cozy, a fire pit can turn a dull backyard into a fun and inviting environment for creating warm memories.
Once you pick the perfect fire pit idea, it’s a great addition to any backyard and offers a wide range of styles and types, including wood burning, propane, and natural gas fire pits.
Each incorporates its own specific method for igniting a fire.
Understanding how to successfully start a fire in a fire pit is also important to keep yourself and those around you safe.
Table of Contents
Safely Prepare the Fire Pit Area
Before attempting to start any fire, check with your local regulations to see your fire pit regulations.
As an Amazon Associate I earn from qualifying purchases.
Also, ensure that you are safely setting up to ensure that people nearby and surroundings are not put in harm’s way.
The prevention of fires and injury must be your number one concern when starting a fire in a fire pit.
Make sure to follow these safety tips when starting a fire in your fire pit:
- Leveling the fire pit: Make sure your fire pit’s location is on level ground. Especially if you are using a fire pit structure that is above ground, this will ensure that it doesn’t easily tip over, spilling dangerous material when lit.
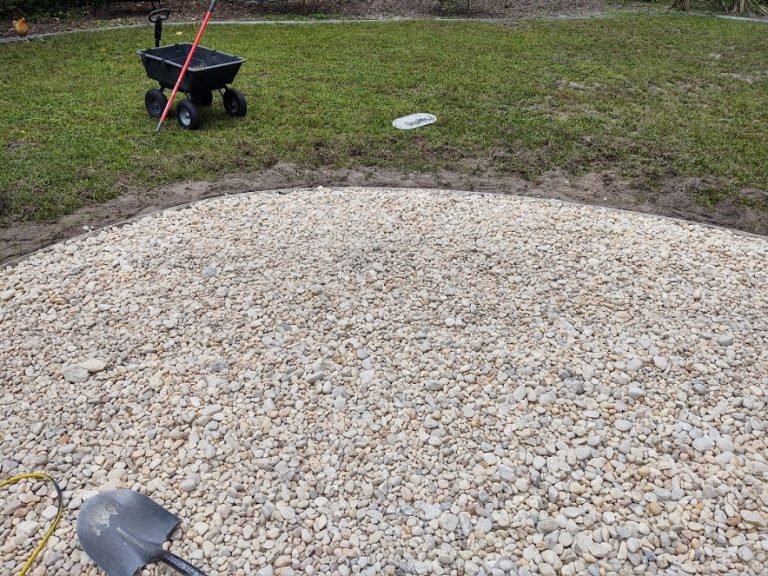
- Safe ground material and surface: It is also best to make sure this level ground is made of some fire-resistant material. You should not be starting a fire with lots of dry grass or plant material nearby that could be flammable. It is recommended to build your fire pit on materials such as concrete or brick, which will not combust if sparks or fire comes in contact with it
- Keep distance from buildings and structures: A good rule of thumb is to place the fire pit at least 10 feet from any structures (Source: Smokey Bear). In addition, fire pits should never be placed under tree branches where embers may rise and catch on fire.
- Nearby water source: You should have a garden hose or bucket of water at the ready just in case you need to extinguish the fire in the event of an emergency.
- Use fire pit screens: If your fire pit comes with a screen, it would be in your best interest to use it at all times. This still puts off enough heat and excitement for those enjoying it but does not allow embers or flammable materials to leave the fire pit.
- Keep your distance: Chairs surrounding the fire pit should be positioned safely away so that if a chair tumbles over, someone is not at risk of falling into the fire.
- Watch children: Fire can be a very enticing and exciting thing for young children. Always keep an eye on them at all times near a fire and do not let them get too close to the pit.
- Never leave a fire unattended: Many of the safety risks mentioned above can be avoided if an adult monitors the fire at all times. A fire should be watched up until it is safely put out at the end of the evening.
These safety precautions are necessary to cover and prepare for before any fire is built or lit. Going over these safety rules with all those near the fire beforehand will make guests more vigilant in preparation and adhering to the guidelines.
Gathering Materials for a Fire Pit
Now that you have your fire pit on even ground and placed a safe distance from structures or objects that may pose dangers, we can start the fire building process by gathering the necessary resources.
We will cover how to build a traditional fire pit from scratch, which is also a useful skill to have for fire pits and fires in the wild.
There are four key components you will need to start a fire:
- Fire Starters: The most common types of fire starters are lighters and matches, but the list does not stop there. A butane torch lighter is a sure-fire way to get the flames going in a short amount of time. Arc Lighters are also another option to consider because they are rechargeable and eco-friendly. Make sure these are not kept within reach of children at any time.
- Tinder: This fuel is essential to your fire, for it easily combusts. Tinder includes anything from dry grass, newspaper, leaves, tree bark, and straw. The key is ensuring these items are dry so they will easily catch on fire. This will be the smallest portion of your fire because you only need to sustain a small amount to light the other components
- Kindling: The material that catches fire from the tinder is kindling. This consists of small dry sticks that do not exceed one inch in circumference. The length of kindling is between five to eight inches The reason you want kindling to be thin because it needs to easily catch on fire. If it takes too long to catch, your fire will not be as effective.
- Firewood: The basis of your fire is dried out wood, preferably kiln-dried firewood, be sure to avoid gathering any green or wet wood. The type of wood that you gather is entirely up to you. Certain firewood may burn hotter and longer than others, oak, for instance, burns very hot and can last a lot longer than pine. The size of wood should be based on the size of your fire pit but will usually be sixteen inches in length. To keep things organized, you may want to look into a firewood rack.
The number of materials you gather will be based on the size of the fire pit and the amount of time you plan to burn.
Tinder and kindling will only be necessary to light the firewood. Having extra firewood available will continue to extend the fire if added.
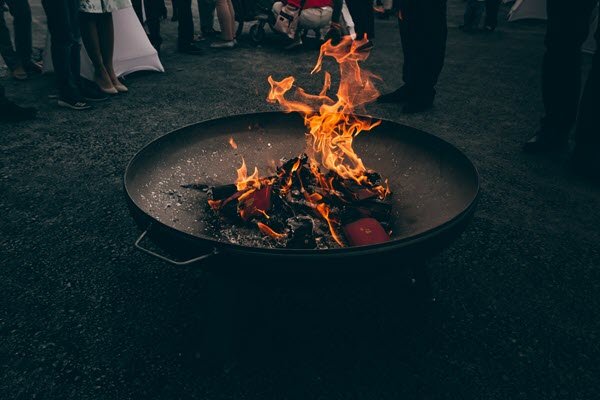
Lighting the Fire Pit
Once the materials have been collected, we can then begin constructing the layout to start your fire.
There are different techniques for setting up your fire pit, but they all generally follow similar principles.
These are the steps to arranging the fire pit materials for effective lighting:
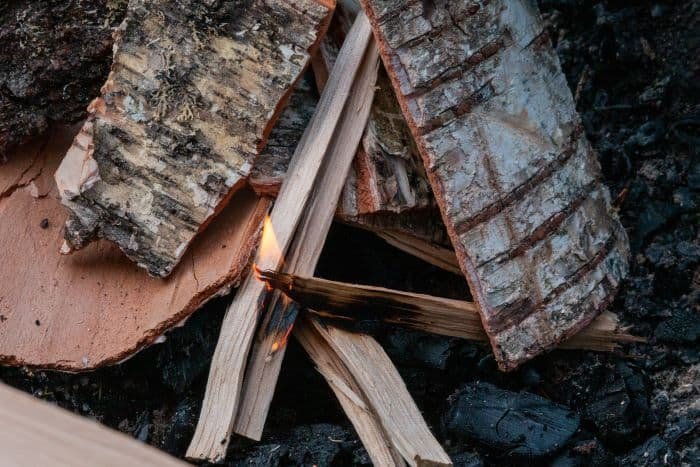
- Place your tinder in the center of your fire pit: The tinder should be mounded up and roughly the size of your fist. You will be lighting the fire from the bottom of the pit and allowing the burning tinder to catch the kindling.
- Choose firewood positioning: After the tinder has been placed in position, we are ready to lay the wood in the fire pit. Teepee, Log Cabin (Criss Cross), and Lean-to are the three most popular fires. Ultimately, deciding which layout works best is entirely up to you. These will dictate the location of both the kindling and firewood:
- Teepee Fire: Place your kindling in a teepee formation with the tinder directly underneath the point of your Teepee. Leave an opening in your kindling teepee, this will be where you light the tinder while also allowing oxygen to fuel the fire. As the fire begins to burn, the kindling adds the wood to the flames.
- Log Cabin Fire: This layout uses the same placement for the tinder and kindling as that of the Teepee style, but for the wood placement, you will begin by placing two pieces of wood parallel to each other with your Teepee directly in the center. Then lay two more pieces of kindling perpendicular to the other pieces, thus forming a square. Continue this process until there are three layers.
- Lean-To: This method works great if there is a wind or breeze. Place one piece of firewood in your fire pit, running perpendicular to the direction of where the wind is coming from. Then place your tinder against the firewood, ensuring that it is the center of your fire pit. Follow by placing the kindling at an angle so that it is touching the firewood and the fire pit, while the tinder is directly underneath.
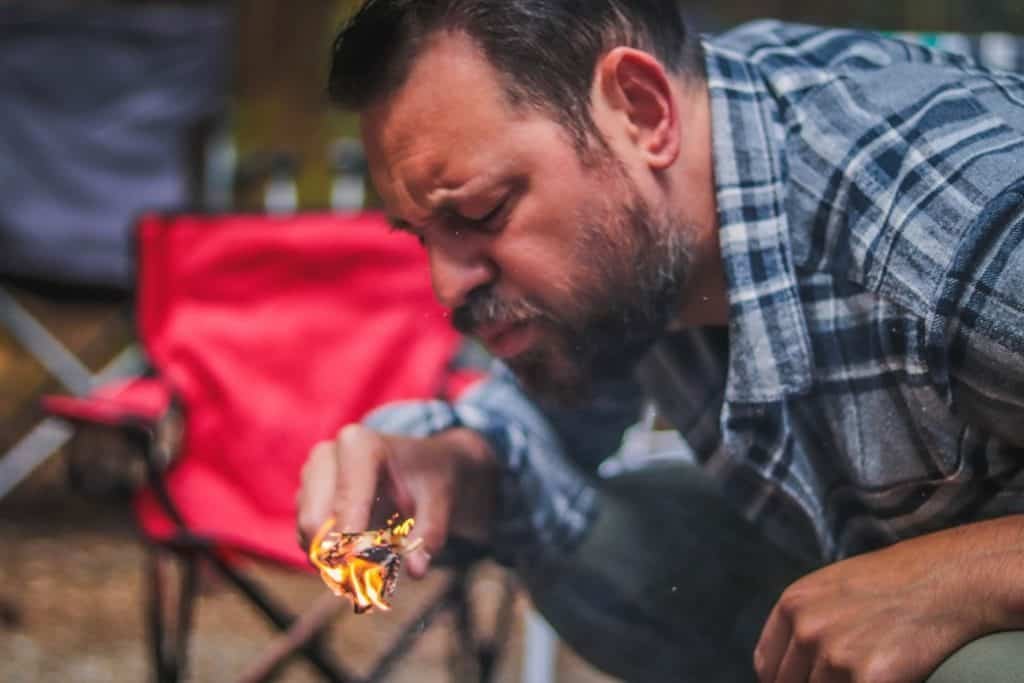
- Light tinder: Once you have constructed your layout, carefully reach in and light your tinder. Be careful in lighting tinder, especially if it is more difficult to access. It should not present an immediate danger when lit but ensure that no loose clothing or hair is in the way upon light.
- Adjust wood placement: As it begins to light, you may find that using a poker around the firewood will help the kindling offer the most exposure to the wood. We only recommend this when absolutely necessary. Adjustments should only be made when the positioning may pose a safety risk of falling out of the firepit or sitting too close to the edge.
- Adding firewood: As the fire begins to burn the kindling and may add the firewood in incremental amounts. This ensures that you do not choke the fire from the necessary oxygen. You will notice the need for more firewood when there is a bed of red-hot embers. This should be your signal to add more firewood, or you risk prematurely putting out the fire.
- Put on fire pit cover: If you have a fire pit cover, this should be kept on to keep the fire and others safe. Keep this on at all times unless adding firewood or making necessary adjustments.
This process will be fairly similar each time you start the fire. Consider trying different lighting methods to find the safest and best work for your fire pit.
Safely Putting Out the Fire
Now that your relaxing evening or lively party draws to a close, you will want to know the best way to put out your fire. It is important to allow the remaining wood in the fire pit to burn down to ashes. Give yourself an hour for this process to take place, so avoid adding more firewood if you want to give the wood a chance to start cooling off.
For most fire pits, it is important to refer back to your owner manual in this step because certain manufacturers advise that you let the fire burn out on its own without using water. Allow time for the fire pit to cool before pouring water over the remaining coals because water on hot metal may crack your fire pit.
- Add water. Once your fire pit has turned to ashes, and you have allowed time for cooling, you may begin to pour water slowly into the fire pit. You may hear sizzling sounds as you pour, which is perfectly normal. Adding the water is another safety precaution to ensure that the fire will not keep burning as you leave the pit unattended.
- Stir the wet ashes. To ensure that the ashes have been completely cooled and cannot burn, stir the wet ashes using a shovel and ensure that every member within the ashes has been soaked. This will guarantee that the fire within your fire pit is correctly put out. The last thing to do is to inspect the area to see if any embers or ash left the fire pit. Especially without a lid, these can land in the surrounding area.
Cleaning the Fire Pit After a Fire
Cleaning the fire pit is an important last step and should be done so after every use. This includes:
- Remove wet embers: Have a metal bucket with a lid nearby to dispose of embers. This will ensure that there is no threat to the surrounding area and keep the fire pit clean.
- Pick up surrounding materials: Keep extra tinder, kindling, and firewood in a safe and dry place that you can easily access for the next fire. All fire starters and flammable materials should be safely stored and kept away from children and animals.
- Cover fire pit: If possible, cover the fire pit with metal or a cover when leaving it outside. This prevents the drying embers from making a mess in your yard and will make it easier to clean the remnants the next day.
Putting a fire out safely is just as important as lighting it because of the risks associated with leaving the fire unattended at the end of a fun evening!
Other Fire Pit Options
If building a fire from scratch in your pit sounds a little daunting and time consuming, you can choose to go with an easier option. Fire pits can also be powered by propane or natural gas instead of wood burning. These are often more expensive than wood over time, but they offer greater convenience, and you don’t have to worry about cleanup.
- Propane. Propane fire pits start with the push of a button, and although they may not provide as much heat as the wood-burning fire pit, they are very easy to manage. However, the cost of refilling the bottles can be rather expensive compared to their natural gas counterparts. Natural gas costs one-sixth the price of propane in some areas of the country.
- Natural gas. Unlike propane, natural gas fire pits are fed by a gas line, so professional installation is required. This will limit the locations where you can place the fire pit in your yard. If you have a designated area that makes sense for the gas line and the flow of your yard, these fire pits can save you time and money without needing to refill a tank.
These gas options have become more popular for fire pits because of their ease of use and the benefits of not burning materials into the environment. You no longer have to smell like wood, and the carbon footprint is much smaller. With cool colored rocks and unique design features, they can also be a statement piece to the yard.
Keys to Starting a Fire in A Fire Pit
Starting a fire in a fire pit is a fun and enjoyable activity as long as you take the necessary safety steps before, during, and after the fire. U.S. fire departments respond to over 1 million fires annually, most of which are residential (Source: National Fire Protection Association). Being extra cautious when building a fire pit in your yard is necessary to prevent larger accidents and injuries.
While fires present serious dangers, being prepared will help not only prevent fires but allow you to respond quickly in emergencies. Having a nearby water source will be very helpful in a small fire pit scenario. If the fire becomes too large and difficult to manage, immediately call the fire department. Trying to put out a big fire can put you and others at risk.
With these safety tips in mind, fire pits make an excellent addition to outdoor gatherings for hanging out, roasting marshmallows, and staying warm for long evenings with family and friends.