
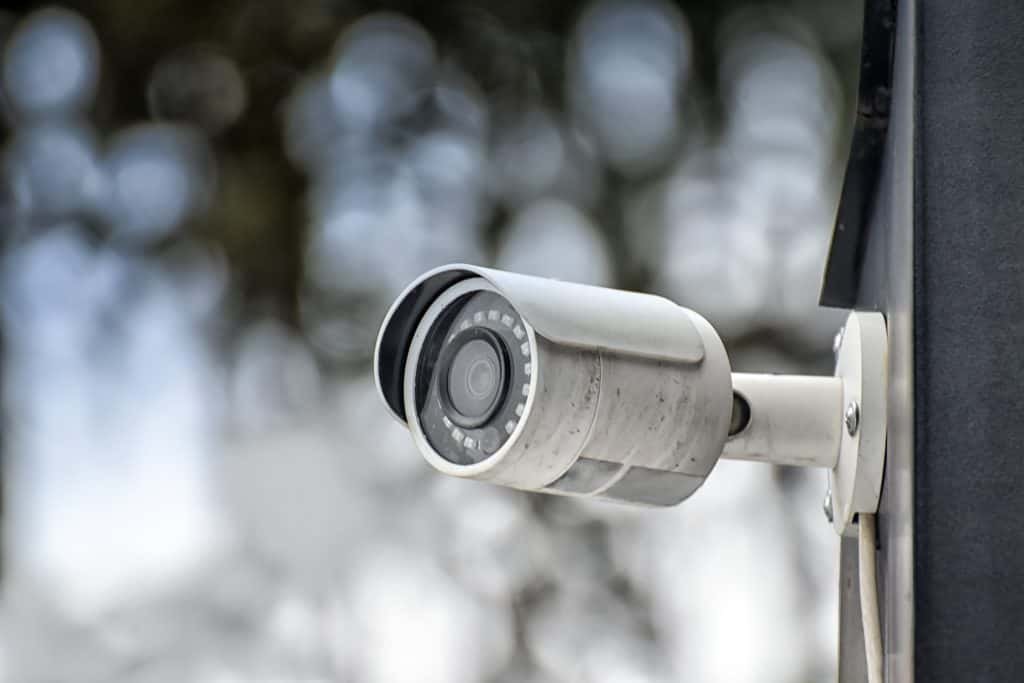
How do You Attach a Security Camera to Vinyl Siding?
When it comes to your home, it should be an area of peace where you can feel safe in.
If you are feeling unsafe in your home or if you hope to increase your overall safety, a security camera is a great option.
Luckily, there are countless security companies available today that offer security cameras that you can easily mount on your home for regular surveillance.
To mount a security camera to a house with vinyl siding, there are a few options:
- Find the studs behind the vinyl to properly secure your camera.
- Use a simple mounting system with screws and a mounting plate
- Install with no drill vinyl siding clips
- Install the camera on the exterior wood trim or roof fascia.
Before mounting the security camera, you must ensure you are doing so in the best location for your home.
You can work with the company of your choice to decide which camera fits your home’s needs or if you will need more than one camera.
If you would like to learn more about mounting your security camera correctly and easily on vinyl siding, keep reading.
As an Amazon Associate I earn from qualifying purchases.
Table of Contents
Start by Choosing Your Camera Location
You will want to start by choosing a security company that is well respected and works properly. There are some big names in the security industry today that you can rely on for offering clear, concise images of your home.
You do want to ensure that you are using enough cameras to fit your home’s needs.
Once you have a company that you trust and want to purchase from, you will receive your security camera.
This will need to be mounted in an area that can easily show the areas around your homes that you are interested in monitoring. You want to find the perfect location before you start any of the mounting processes.
Consider the Height and Placement
Most commonly, homeowners will mount security cameras in high traffic locations around their homes. This is to ensure that anyone around the home that is not meant to be there is caught on the camera.
Some common areas you will see security cameras mounted are:
- Front doors
- Near first-floor windows
- Back doors
- Garages
It is important that you mount the camera at a height that is not easy to tamper with but is close enough to the entranceways for an easy visual.
There are different types of security cameras available today, which means that there will be different clarity levels.
You will want to try out the camera in differing locations to ensure that you can see clearly before placing any screws or other mounting gear.
Some security cameras are powered by solar and some will need to be plugged in so having an electrical outlet will also determine camera location.
Be Wary of Weaknesses in Vinyl
Before you begin any work on your vinyl, you will want to ensure that you are aware of how vinyl can react.
If you live in an area that is colder, you may want to wait until warmer months to begin the mounting process.
Vinyl can actually shatter at lower temperatures, which can be very dangerous if you are screwing into it when it is cold outside.
If you have an older home, this can be even more likely to happen as older vinyl is very prone to shattering.
If you absolutely must mount your camera in the cooler months, use a heater, hairdryer, or other similar heat sources to warm it before drilling. This is the best way to ensure that the vinyl does not crack or shatter.
Begin the Mounting Process
Once you have an idea of where you would like to put the camera, you will want to get a reliable ladder and get assistance holding it in place.
Often, it is best to place the camera at a higher location which will require some form of a ladder. You will want to hold up the camera and mark the location where the device will go.
At this point, follow these steps to create holes for your camera mounting equipment:
- Position the mounting bracket onto your vinyl siding where you plan to mount the camera. Mark the holes where you will need to put the screws with a pen or pencil, ensuring you can easily see where to screw. You will want to mark for additional holes if you are using a wired camera.
- Make these markings easy to spot once moving the mounting equipment away from the siding. Look over the siding and make sure that it is ready to be drilled. Check out the underneath of the siding and make sure that it is clear to be screwed into.
- Choose a drill bit that can go into the siding appropriately. You should do a basic measurement of the depth of the vinyl. Then find a drill bit that is as long as the siding plus an added inch.
- Place the drill against the markings you made previously for the mounting equipment. You will want to screw into the siding straight with a steady hand. You do not want to tilt the drill at all, as this can cause it to mount the camera incorrectly.
- Houses will have wood underneath the siding, which means you need to stop screwing once you reach this wood. You can switch to a smaller drill bit and screw for a little less than half an inch into the wood underneath.
- You will drill the other markings the exact same way. If your security camera is not wired, you can stop after the mounting equipment screw holes are made. If you have a wired camera, you will want to use a longer drill bit for the wire holes.
Not only can you install a camera on vinyl sliding but if you’re wanting to brighten up your house during the holidays, you can do it. Find out how you can attach Christmas lights to your vinyl siding in this article.
Install the Camera
You will want to ensure that your camera mount lines up correctly with the holes that you have screwed. Start by holding the mounting equipment in place and ensuring that it is ready to be screwed in properly.
Then, use your drill to screw the mount onto the siding tightly.
You should then be able to put the camera in place. If you need to install wires, insert them into the hole that was created for the wiring and connect them as needed.
You should then be able to activate the camera and use it as needed for security purposes.
No Hole Options for Security Cameras
In some cases, you cannot create holes for the mounting equipment.
If you are renting a home or an apartment that does not allow for screws in the vinyl, you can use no hole clip hooks instead. These can be easily used to mount the security camera to the vinyl and do not require holes.
You can find these vinyl clips easily online and they are simple to install.
Once you have them installed, you can also remove them easily! They simply pop up inside of the vinyl and are rotated in place, then you can mount the camera accordingly.
If you have a shelf that is in place or a door jam that is large enough, these can also work for mounting your security cameras.
There are also adhesive mounts, suction cup mounts, and other easily removable adhesives that can be used to mount security cameras.
Whatever you decide to use, ensure that you are mounting the camera in an area that shows the correct location and is secure against the weather.
Feel Safe with a Properly Mounted Security Camera
Installing a security camera onto vinyl is simple with a quality drill and proper equipment. You will want to screw your camera mount into place by first marking the holes needed, drilling the screw holes, screwing the mount into place, and finally installing the camera.
You can also use drill-free options like mounting clips or adhesive clips in order to avoid damaging your siding.


