How to Stencil Concrete Patio

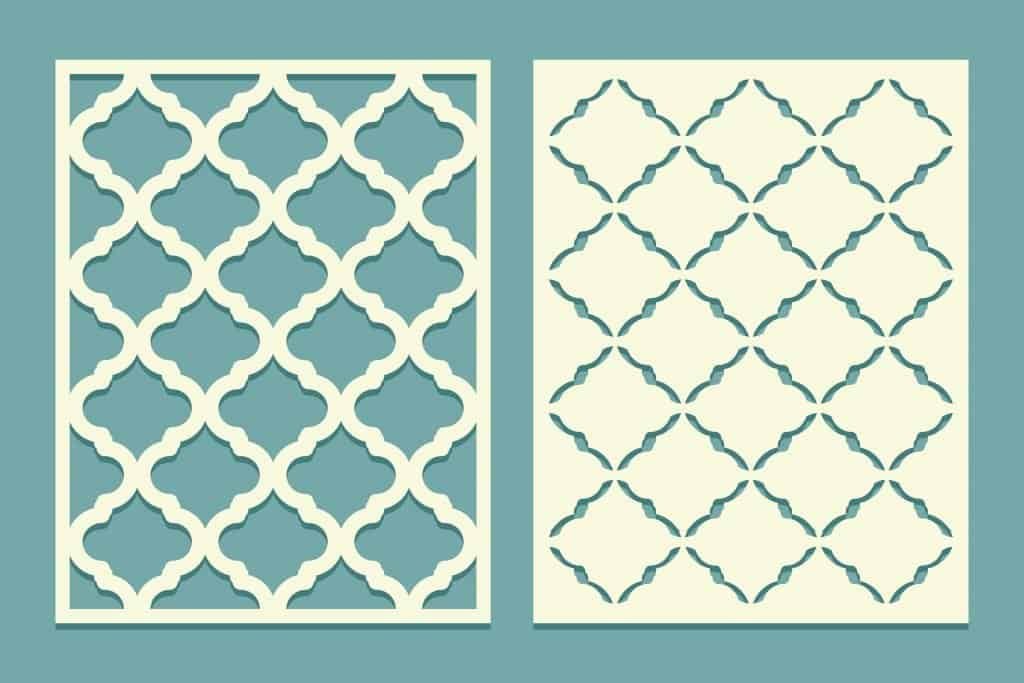
Stenciling is an easy and affordable for anyone to give their drab concrete patio some character. These tools come in a vast array of designs to fit any aesthetic and can provide the ambience and visual effect of tiling at a fraction of the cost.
In this article, we will take you step-by-step through the process of stenciling your concrete patio. You’ll learn what tools and materials you’ll need and how to best use them to guarantee a beautiful and long-lasting finish that immediately elevates your backyard space.
Table of Contents
Purchase Your Stencil
The step that might take you the longest in this process is this first step of choosing the ideal stencil that best suits your patio and your personal style.
You only need to purchase one stencil for this guide but having multiple stencils can help expedite the process. Patio stencils can be purchased for an affordable price at numerous locations, including:
If you’re unsure where to start with choosing a stencil, consider the shape of your patio and choose design that would complement. Patio furniture and other fixtures can also be used as points of reference.
The last link, Expressions, LTD has the a wide variety of larger stencils to choose from. The larger stencils will be easier to paint over than the smaller stencils.
Remember that stencil openings can be taped over or modified in other ways if the original design doesn’t quite match your aesthetic.
Purchase Paints and Brushes
It is crucial to purchase the right paints for this task because they will dictate how well the paint sticks to the concrete for a smooth and easily application. It will also affect how long your design stays in optimal condition and withstands the outdoor elements.
The best paints for stenciling a patio that will provide ideal color clarity and longevity are those made specifically for concrete. This applies for the primer as well as any paints you use for the stencils themselves.
In addition to being a concrete paint, you’ll want to make sure the paint is made for exterior use, as these will have superior UV protection. This will ensure the sun does not fade your stencil colors over time.
Another factor that isn’t required but is often helpful would be to find a flat sheen paint, as these are often applied faster and smoother than other paints.
Once you’ve purchased the primer and stencil paints of your ideal colors, you’ll want to purchase several types of brushes and rollers. These include:
- ½” roller
- 4” dense foam roller
- 2” paint brush
- 1.5” stencil brush used for smaller intricate stencils
- Small Fitch paint brush also used for smaller intricate stencils
We also highly recommend purchasing painter’s tape and an extension pole to attach to your rollers. These are great for improving comfort, speed, and efficiency. If you use an extension pole, always make sure that it has metal threads. Plastic threads break too easily.
Prepare Your Concrete Patio
The next step is to prepare your concrete patio with a thorough cleaning and an application of etching powder to help your base coat of primer stick efficiently to a clean surface.
You can clean your concrete patio by blowing away and leaves, dirt, and debris with a leaf blower. Alternatively, you could use a shop vacuum or a classic broom if you have them handy.
Once you’ve cleared the top layer of debris, you’ll want to apply an etching solution. Etching your concrete patio is vital for removing any remaining contaminants while also creating a rough surface for your paints to sink into and adhere to.
Follow the directions listed on your etching product regarding dilution and mixing. Next, apply the etching solution evenly over your concrete patio and scrub it in using a stiff bristle broom.
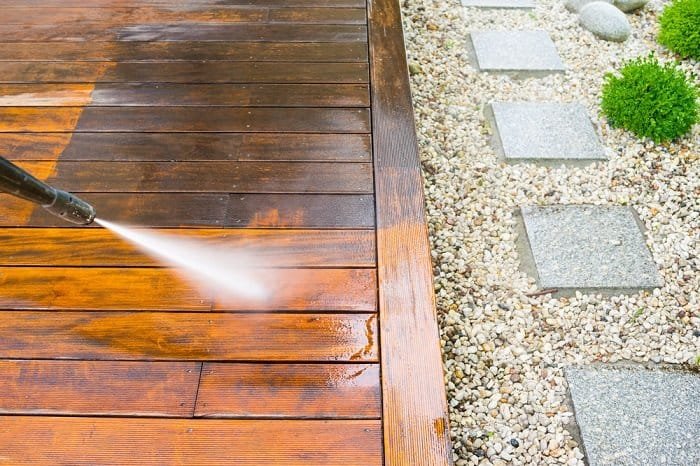
Afterward, use a hose to rinse away your etching solution and allow the concrete patio surface to dry for however long your etching product’s directions recommend.
Now that your concrete patio is clean and etched, tape off anything around the concrete patio that you don’t want to get painted.
Apply A Base Coat on the Concrete Patio
A base coat of primer will do wonders for making your stencil paint colors pop and ensuring they stick to your concrete properly.
Using your 2” paint brush, apply paint around your taped off areas. This might be tedious, but it is much cleaner and more efficient for getting into corners and nooks than using a roller. After this lining has been applied, you can use your ½” roller to apply the base coat of primer.
Most concrete patio owners can get by with applying a single layer of primer as their base coat. However, you might want to apply two if you find that your primer isn’t adhering well, or you want to guarantee that your stencil colors will really pop and last a long time.
Apply Your Stencils
Now you can start the fun process of applying your stencils to your primed concrete patio and watch the design grow before your eyes.
Before applying the stencil, we recommend placing it on a cardboard sheet and spraying one side of it with a spray adhesive. This will help the stencil stick to the concrete patio and stay in place while you paint. Just make sure you purchase a repositionable spay adhesive.
Start applying your stencil by placing it next to a corner, wall, or the edge of your concrete patio. Using your 4” dense foam roller, apply your desired stencil paint(s) with light to medium pressure.
Make sure you paint the alignment/registration marks as well! These often look like small cut outs around your main stencil design. While they meet seem random, they are crucial for lining up your next stencil.
Once you’ve applied the stencil paint lightly with your 4” dense roller, use your 1.5” stencil brush to go over the stenciled area and fill in any splotchy areas. This helps ensure you don’t apply excessive amounts of paint in one layer using the roller.
Let your first coat of stencil paint dry and then apply a second coat before moving on. You’ll use those registration marks to line up your next stencil.
Repeat this process until your concrete patio is stenciled to your preference. Conversely, you could stencil a rug design if you don’t want to do the entire concrete patio.
Finish With a Topcoat
While your exterior concrete paint will likely last years in ideal condition without a topcoat, it is always beneficial to apply one for maximum longevity. Before you do this, use your small fitch paint brush to do any last-minute touch ups with either your stencil or primer paint.
The best topcoat you can apply to a stenciled concrete patio is a concrete sealer that works over painted concrete. This will provide additional UV protection to prevent your colors from fading.
First, use you 2” paint brush to apply two coats of topcoat along the perimeter of your concrete patio. After that is dried, you can use your ½” roller to apply two coats of topcoat to the rest of your project.
Final Thoughts
If you’ve followed all of the steps listed here in this guide, you should have a stunning concrete patio that is fully stenciled and protected to last for years.


