
How to Hide Air Conditioner Unit Outside (Plus 5 Examples)
Looking for an easy way to hide your air conditioner unit outside? In this article, we’ll walk you through step by step on how to hide your air conditioner outside. This project also works for trash cans or pool equipment. Anything that you want to hide in your backyard.
Once we finished, I wondered why I hadn’t done it sooner. It was so easy and it only took me one afternoon to complete.
If you don’t want to build your own A/C screen, we’ve listed several items that look really good and quite reasonably priced below the how to section.
Table of Contents
Consider This Before Hiding Your Outdoor AC Unit
When looking for ways to hide your unit, keep in mind these two rules:
- Keep it accessible- Make sure a repair person can access the unit to make repairs and do regular maintenance. Any structure you install needs enough space around the unit for a repair person to work comfortably.
- Keep it vented- Make sure there is plenty of airflow around the air conditioner. You don’t want to build a structure or enclosure restricting airflow around the unit.
The most important thing to consider is not to hinder the performance of your AC unit just because you want to hide it’s ugliness. A brand new AC is a very big expense so make sure any enclosure you build keeps your AC working properly.
How To Add a Privacy Screen Around AC Unit
We recently purchased a new AC unit. During the installation, we asked them to move the unit a few feet so that it wasn’t right next to our deck. which was great. But it’s still close to the deck and a bit of an eyesore.
As an Amazon Associate I earn from qualifying purchases.
In fact, the whole area doesn’t look very appealing, so I designed a removable fence screen to hide the AC.
My main concern with coming up with a design is making sure there was enough air flow around the AC unit. Like the number 2 rule above, you must have enough ventilation. Since it’s brand new, I certainly didn’t want to build anything that would cause it not to work right.
Also, from all the research I did, you should have at least 12 inches of clear space around your AC unit.
My second concern was for the screen to be removable for yearly service access. This goes back to rule #1 above. Most AC repairmen will want 3-4 feet around the AC unit to complete maintenance and repairs. Your AC should be checked every 6 months to keep it running properly.
I’ve seen several designs that use lattice for the screen but I’m not a big fan of the lattice look. Since my fence is horizontal, with slats made from 1×4 cypress, I thought I would mimic that style for my AC fence. Bonus because I had scrap cypress lying around the house.
With the leftover cypress boards, I built two horizontal slat frames with 2×2 pressure treated legs. The legs will be longer than the slats and sit inside (2) 2 inch diameter PVC pipes buried in the ground. Which is similar to how I put up string light poles with no trees around.
Materials Needed to Build the AC Fence
The following materials are used for one screen that measures 60 inches wide and 48 inches tall.
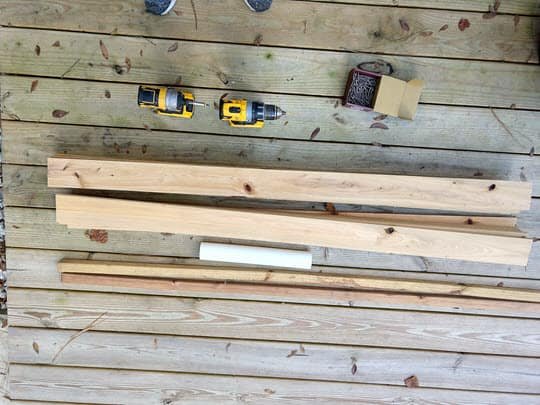
- (2) 2 inch pvc pipe (lowes sells pvc pipe that is 5 feet long) = 4 pieces cut 15 inches long
- (10) 1×4 inch wide cypress slats cut to 60 inches
- (2) 2x2x96 pressure treated legs cut to 60-66 inches long (this may vary as I explain below)
- (40) 1 ⅝ exterior screws
- Drill (We use the Dewalt Drill and Impact Driver Combo)
How Much Time to Build AC Enclosure
Honestly, I was lucky because I had a lot of the materials and tools to build this. The total time it took me was about 4-5 hours. If I had to gather the materials, it would be about 6-7 after going to the hardware store.
How to Make a Fence to Hide Air Conditioner Unit
I used a miter saw to cut all my pieces, even the PVC. Cut your pvc in half at a 90 degree cut, then cut those halfs in half with a 45 degree cut to make it easier to bury them in the ground. I cut my slats by measuring and cutting the first slat, then use that as my guide to cut the rest of the slats to width.
For me, it’s faster and more accurate than breaking out the measuring tape for each cut.
Note on the pressure treated 2x2s. You’re going to have to fish through the whole pile at the hardware store to find a few straight ones. Since the wood is so thin and it’s pressure treated, it warps really bad. Sometimes they keep them bundled in packs of 6 which keeps them straight. If you get them, make sure you build the screen the same day, otherwise, they will warp once they’re removed from the bundle.
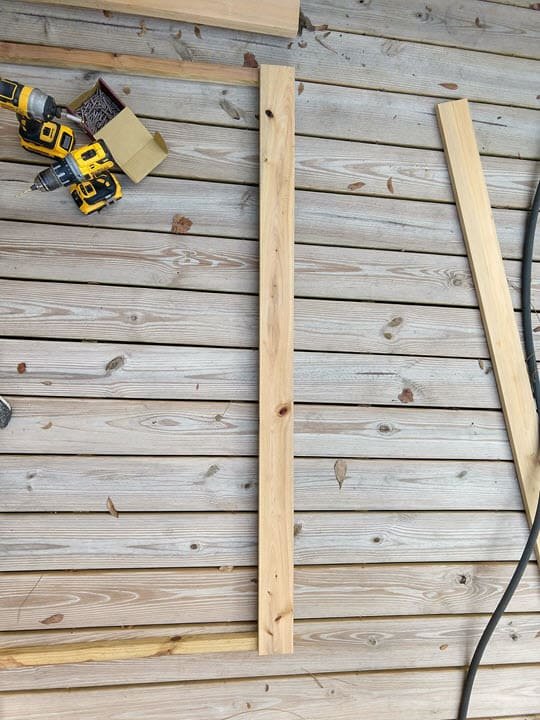
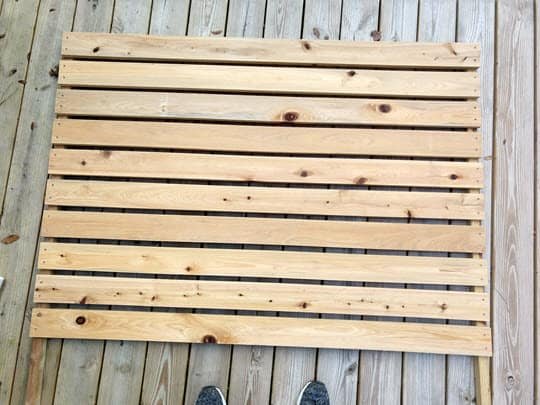
To make the screen, the first slat is laid across the top of the 2×2 legs. I place it along a flat surface with the legs underneath the slat. Make sure the top slat is flush to the top and side of each leg. If it helps, you can use a clamp to make sure it doesn’t move.
I made sure to pre-drill the wood since the holes are close to the edge and cypress or cedar will split if you drill too close to the edge.
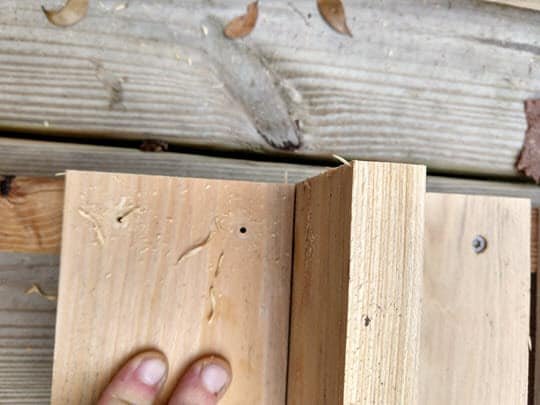
After pre-drilling two holes, I screwed in (2) 1 ⅝ exterior screws per side. I then use one of the slats turned vertically to create an even ¾ space between slats. Continue this way till you have all slats installed. Once you get the first slat on, the others go on very quickly.
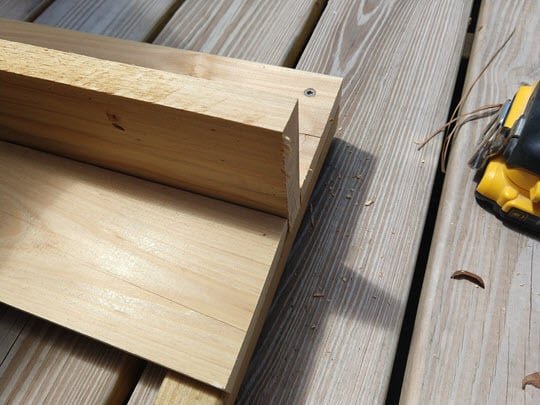
This is what the final screen will look like after you put all the boards on. You want the legs to extend past the slats between 8-12 inches. You want the legs to go into the pvc and ground far enough to make the screen sturdy.
Once I found the spots in the ground for my PVC, I took a mini sledge to pound the PVC into the ground. If you’re lucky, you won’t find any roots.
If you’re like me and do find a root, I used my hand spade to cut the roots, though you could also use a small pruner if the root is close to the surface.
Once it is root free the key is to pound the PVC deep enough but still be able to pick it up and remove the dirt from the pipe to have room for the leg to sit 12 inches inside to make it sturdy.
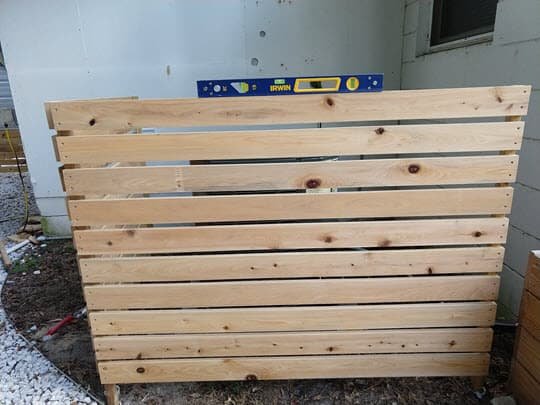
I actually did one PVC piece at a time to verify the spacing for the second leg. Once you have both PVC pipes in the ground it’s time to insert the legs.
You may need to add or remove sand to level each screen and have both screens level to each other. It may take a couple of tries to get the pvc and legs perfectly aligned.
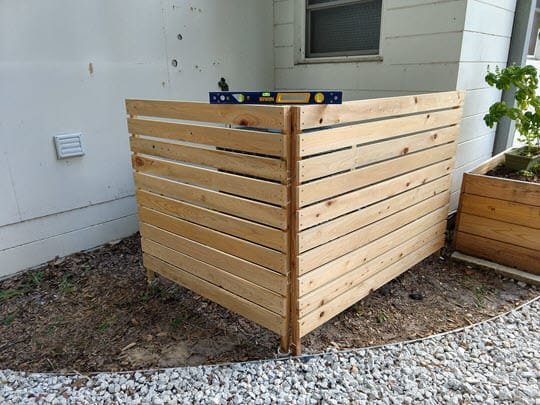
I think the screens came out really well and I love being able to make something useful out of scraps lying around the house. I can’t wait to get some plants in front of the screens.

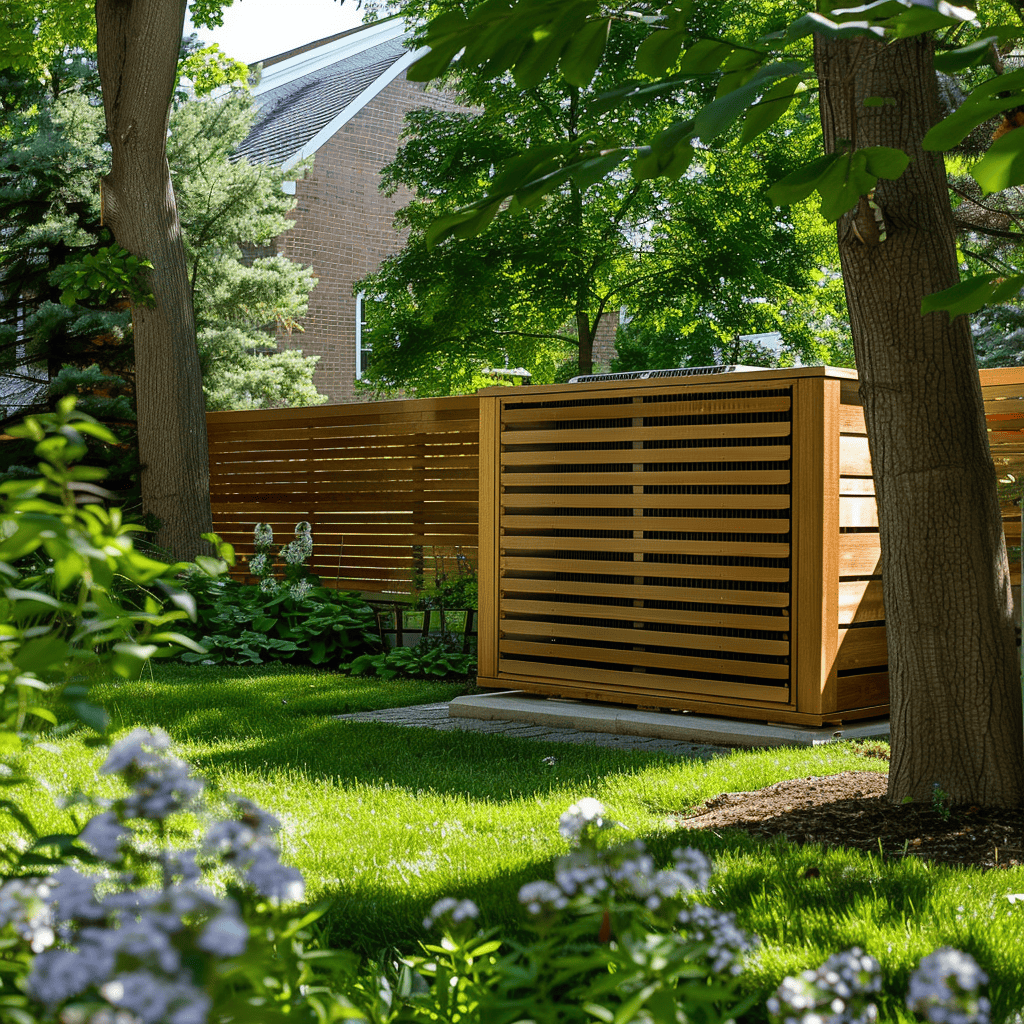
Popular Ways to Hide Your AC Unit
We have shown you one way to build an AC privacy screen but below we’ll showcase a few different DIY projects or products you can buy if DIY isn’t your thing.
If you’re interested in hiding any other things in your backyard, you can check this article out about how to hide an outside garbage can.
Outdoor Privacy Screens for AC
The products options below are easy to install and great if you don’t have time to build your own privacy screen.
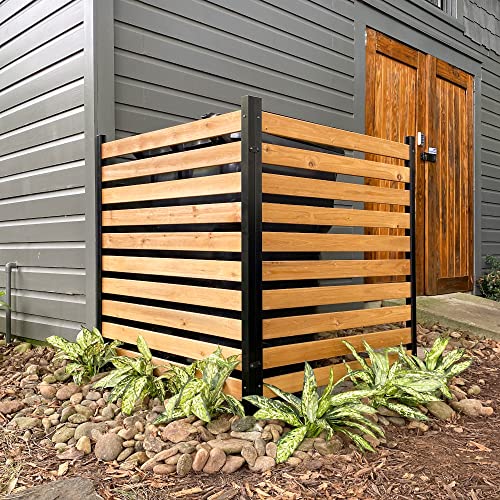
Enclo Privacy Screens
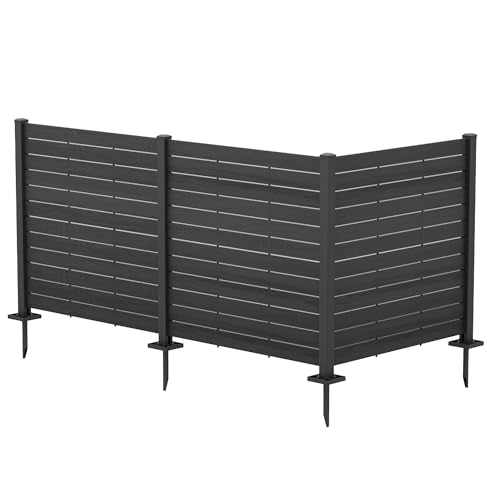
Vinyl Privacy Screen
Plant Shrubs to Hide Your AC
If you want a more natural look to hide your AC unit, you can plant shrubs around the unit. Consider planting fast growing evergreens to save money or full grown versions at your local nursery.

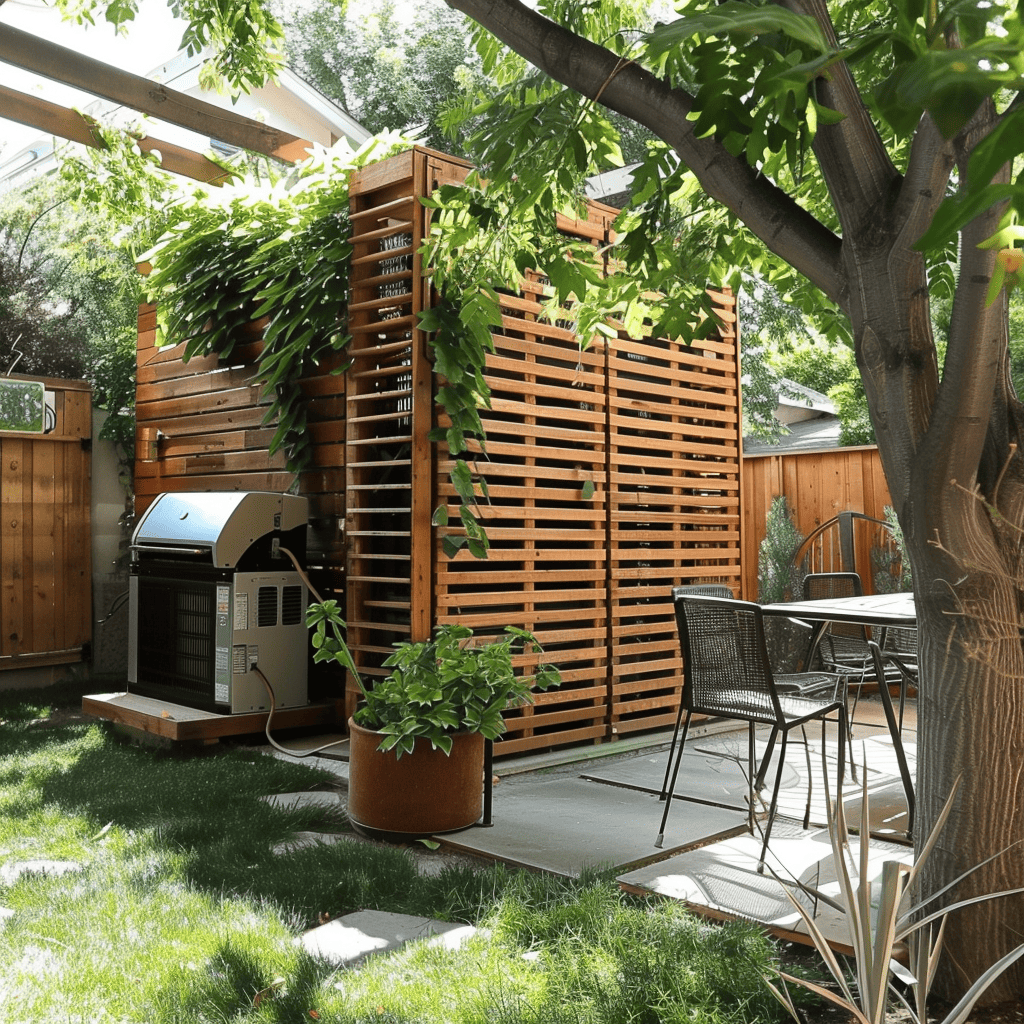
Green Enclosures
If you have a green thumb and your AC is in a sunny area, why not grow something pretty or edible to hide your AC.
Bamboo Screen

The bamboo screen below is a great way to hide your AC unit, trash cans or anything else you don’t want to see. It is easy to maneuver around objects with the hinged screens. The bamboo will give your yard a more tropical feel than a regular enclosure.
Picket Fence Cover

This is really an easy and cute design and goes well if you already have a picket fence. This enclosure is made out of pvc, which won’t rot, and is built the same say as our wood enclosure with the legs that go into the ground so the enclosure can be removed to get to the AC unit.
Lattice Fencing

Another way to hide the ac and some lattice screens look pretty nice, like this one. This design is also PVC and made from the same company as the picket fence design.
Here’s a planter box and trellis to help you along with your greenery screen enclosure.
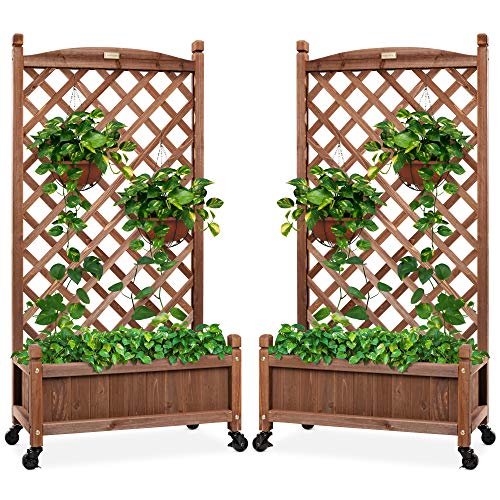
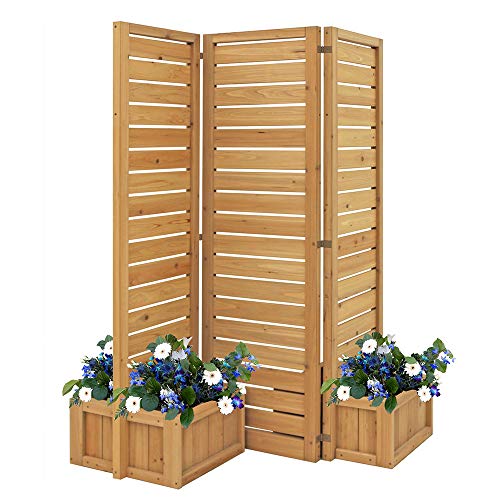
Wood Screen with Planters
This design to me is the best of both worlds, cedar wood slats with built in planters. The planters add the greenery appeal for added color to soften the cedar slats.
You can have the screen in a diagonal or in a straight line with the planters on both sides. Since it’s built from cedar, it’s naturally bug and rot resistant.
Conclusion
Hopefully we’ve given you some ideas on how to hide your AC unit and given you the confidence to try your hand at building your own. It’s amazing the difference in how that small area looks now that the ugly AC isn’t showing anymore.
What about you? Have you figured out how you want to use to hide your AC?
We hope this article helped you build an AC enclosure for your backyard. If you’re looking for more backyard landscaping ideas, here’s some more options to check out.
If you liked this article, then please subscribe to our YouTube Channel for Backyard video tutorials. You can also find us on Facebook.


