
How to Build a Fire Pit Area with River Rock
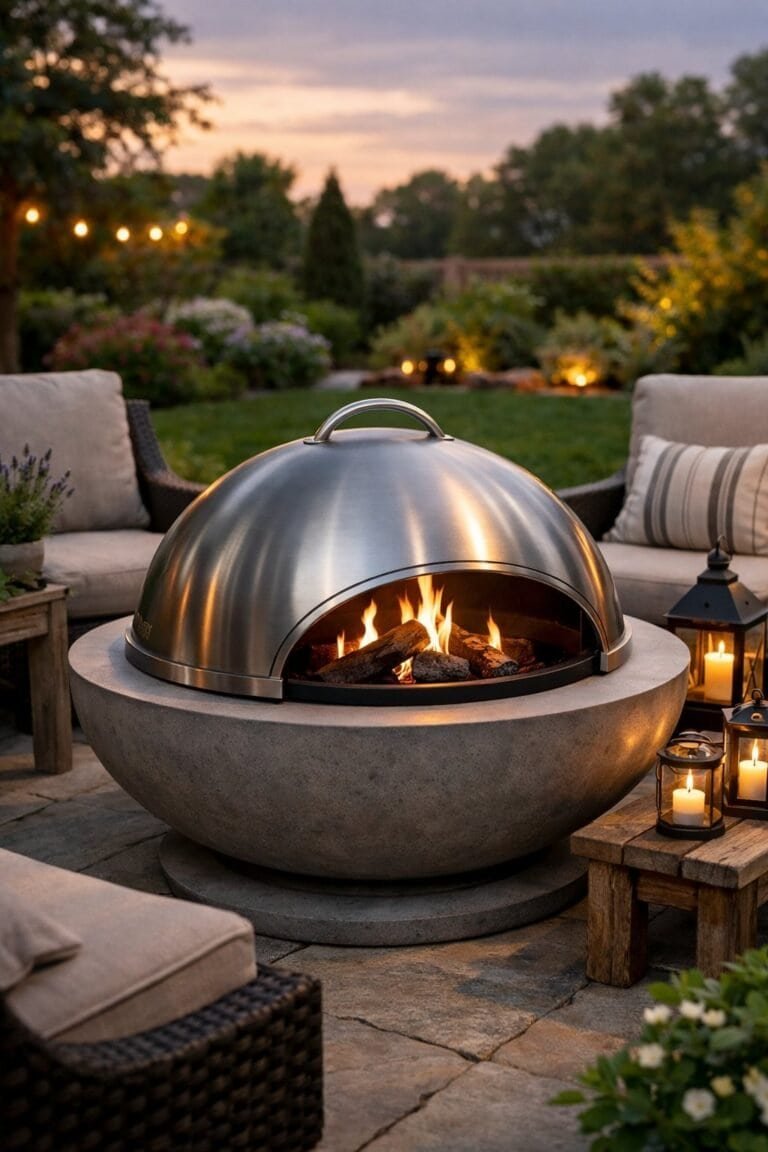
Want to create a dedicated area in your yard for a built in fire pit? Want to get rid of undesirable grass at the same time? We’ll show you how to do both in this article creating a beautiful fire pit area that you will enjoy for many years.
Fire pit areas require a non flammable material around the fire pit for safety reasons. Any type of rock aggregate fits this description, such as pea gravel, recycled concrete, crushed granite, lava rocks and river rocks.
Any of the listed materials make a great choice to install in a fire pit area and will last a long time. We chose the smooth river rock since we liked it best from all the choices above.
Note: Even though we used river rock around our fire pit area, we DID NOT use river rock inside our fire pit.
River rock is beautiful and durable but can be very expensive. We priced it out at a local garden center that sold all kinds of landscaping materials in bulk such as dirt, mulch and different types of rock aggregates.
The cost for the river rock was $125 a cubic yard with an additional charge for delivery. We estimated our area to need 2.5 cubic yards which would have cost us $400 with delivery.
I researched other option in my area and came across a company affiliated with the local railroad that sold rock aggregate. Their river rock pricing was much less per cubic yard and looked the same as the higher price version.
As an Amazon Associate I earn from qualifying purchases.
Check your local area when you need to purchase a large amount of rock aggregate, mulch or soil. Buying in bulk has better pricing and delivery options for many landscaping materials, especially very heavy materials such as dirt or rock.
Prepping your area before delivery of your rock.


Depending on where you’re placing the river rock, you might have a lot of prep or very little. Most people have grass in their backyards which will need to be removed before the river rock is dumped on top of it.
If you don’t remove or cover the grass with a thick barrier, it will grow through the rock . You don’t want weeds coming through your river rock that you’ll have to contend with.
You can cover the grass with a thick barrier such as cardboard, wet it down, and then put the rock on top. The cardboard will kill the grass underneath. We did this when we mulched our backyard. The process would be similar except you would add rock instead of mulch on top.
In our case, the area we earmarked for the fire pit area had an above ground pool that was removed. The grass was already dead underneath the pool but the remaining area still had grass that I had to remove.
This is a labor intensive process since you have to dig underneath the grass to loosen it and pull up the roots.
Luckily, I only had about 20 sq ft to dig up so I did it by hand. If you have a larger area, you can rent a sod cutter. This cutter makes sod removal very easy, as you simply walk behind the equipment as it removes the grass and leaves a fairly level patch of dirt.
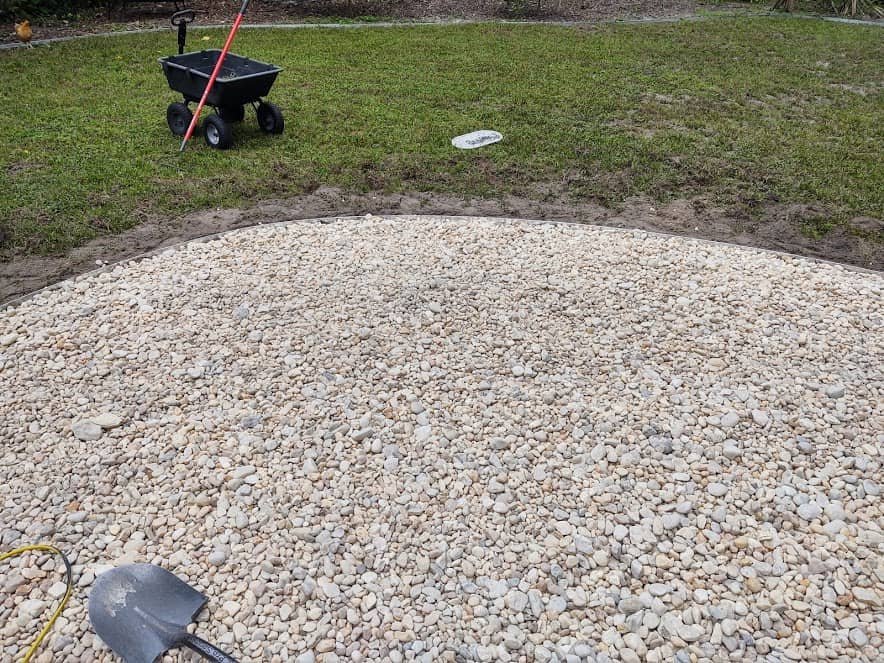
Once you have the area prepped, you’re ready for your river rock. Access to the area will determine how much work will be required to install and spread the rock in the defined area.
In our case, the delivery truck dumped the rock inside our fire pit area. Great for less work, but the dump truck left large divots in the grass from turning and backing up with the heavy load of rocks.
Having access to dump the rock in the fire pit location made spreading the rock much easier. If it’s not possible to dump the rock in the backyard you will have to move all the rock by hand to the fire pit area. The easiest way to move the rock will be with a wheelbarrow or dump cart.
It took me two to three hours to spread the river rock around the lined out area, leaving about a foot on the perimeter to install the landscape edging to make a half circle.
The larger river rock, proved difficult to move with an iron rake. I had the most most success filling a bucket on the highest part of the pile, then letting gravity do most of the work. Once the pile was lower, I used a shovel to move the rest of the rock.
Fire Pit Edging Options
To keep the river rock confined, you should have some type of material to use on the perimeter or edge of the fire pit area.
Popular choices are plastic and rubber edging. Since it’s very malleable, you can create many different shapes and even tight circles for flower beds. It’s one of the cheapest options out of the materials listed below and very easy to install.
Metal or aluminum edging is a newer choice that is similar to plastic edging but thicker and more sturdy than the plastic or rubber edging. While it can be bent, it is not as malleable as the plastic edging. Some metal edging will have a rusted patina over time, aluminum will stay a silver color.
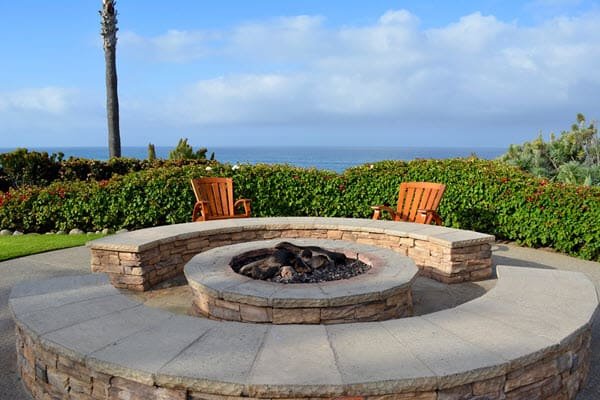
For a more substantial types of edging, there are bricks, pavers or concrete. The costs for these materials are far higher than any of the choices above but will last a lifetime in your backyard.
We chose the aluminum edging since we liked the look and durability of it along with the ease of installation. The aluminum edging costs more than the plastic edging you can buy at your local lowes or homedepot but in my opinion looks so much better.
It’s bendable, which was perfect for our half circle. It took a couple of hours to install the metal edging along the perimeter. Once the edging was finished, I moved the rest of the river rock up to the edging.
Conclusion
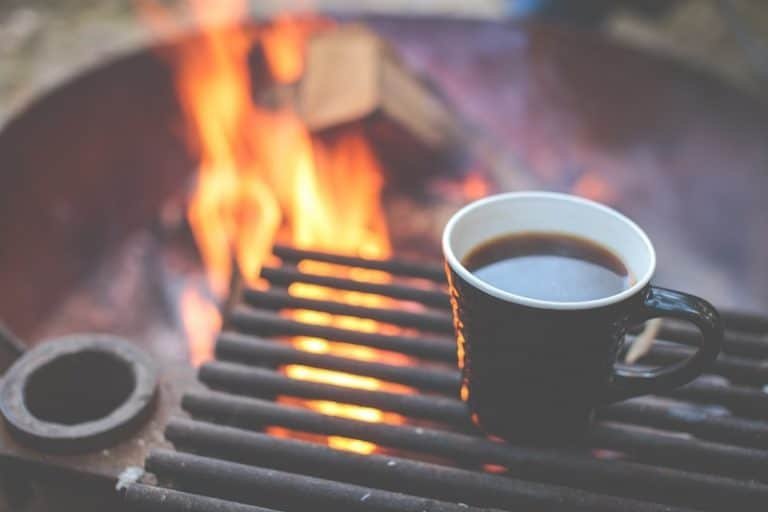
The river rock and metal edging look great in the backyard. How to build a fire pit with pavers was our next step in finishing our fire pit area. We have enjoyed many fires and many oyster roasts so far with many more to come.
If you’re wanting to add a fire pit to your backyard, we talk about how long fire pits last and how you can maintain them in a separate article.


Thank you for your video. I live in CA, but called Conrad Yelvington Distributors that you mentioned in the video to see if they could help me find an aggregate distributor in So CA. I spoke with Terry, who was very helpful. He was surprised and pleased to hear that their name was mentioned. I sent him a copy of the title so he could look up and view the video himself. Thanks again.
Hi Lori, thanks for the comment. I glad to hear that Terry was helpful. He was super nice when we were deciding which rock to use for our fire pit area. Good luck with your project!