How To Frame A Corrugated Metal Fence
If you want corrugated metal as your new fence material, you’re probably wondering how to frame and build it.
Corrugated Metal has become a popular material for building fences. The cost is similar or lower to wood panels and it will last longer than wood.
Since most corrugated metal is galvanized or painted, it won’t rust. Unlike a wood fence that will eventually degrade from sun exposure and moisture, corrugated metal will not.
Another pro for corrugated metal is that it gives you complete privacy as your backyard fence.
I have incorporated corrugated metal in fences I have built over the years and can show you how to use it in your next fence.
Whether you want to install it vertically or horizontally, we’ll go over each way to build it for a long lasting fence.

Table of Contents
As an Amazon Associate I earn from qualifying purchases.
Types of Corrugated Metal Fencing
Corrugated metal fencing has come a long way from using old tin roofing as fence panels. Nowadays it comes in any color you can imagine and as a panel or individual pickets, just like wood.
Corrugated simply means material with alternate ridges and/or grooves. Corrugated metal is stronger than a flat piece of metal. This is why corrugated metal is used in metal roofs and now in fencing.
Corrugated metal panels can be used for roofing or fencing. They have different gauges of thickness most commonly ranging from 26-29 gauge. 26 gauge, which is thicker is better for roofing, while the 29 is lighter weight and suitable for fencing.
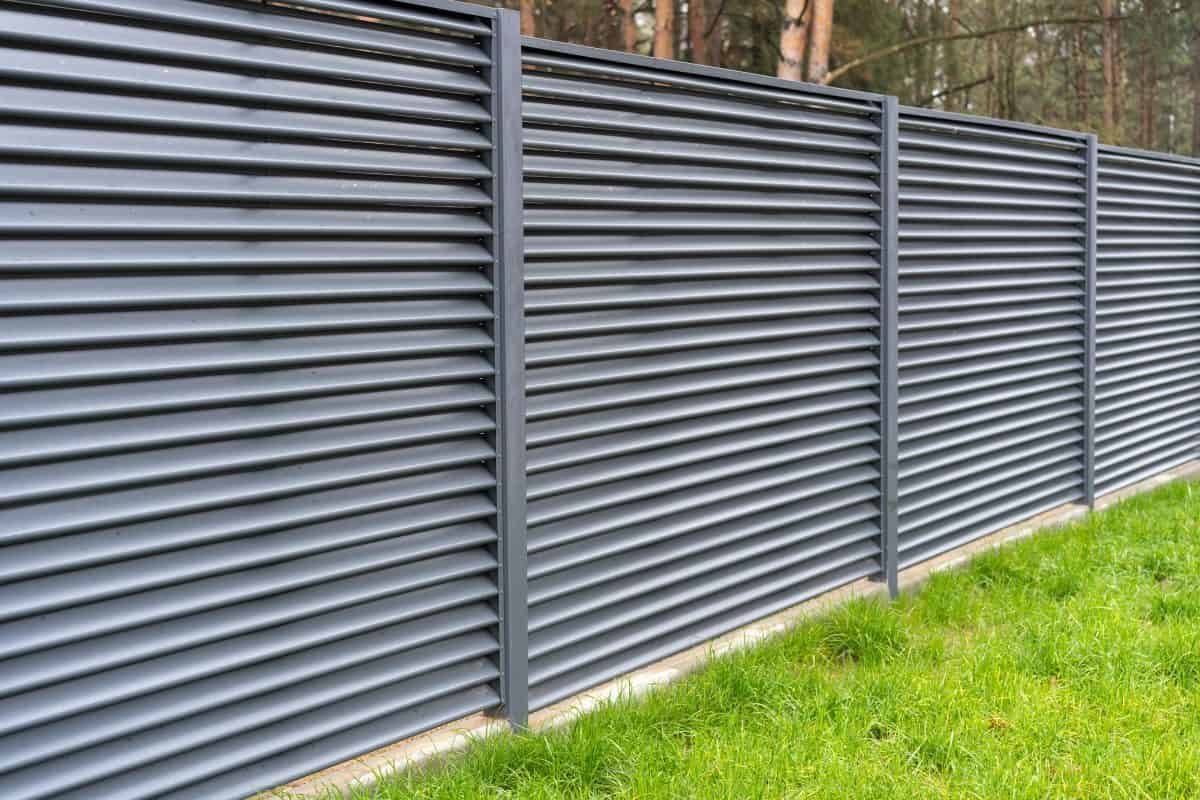
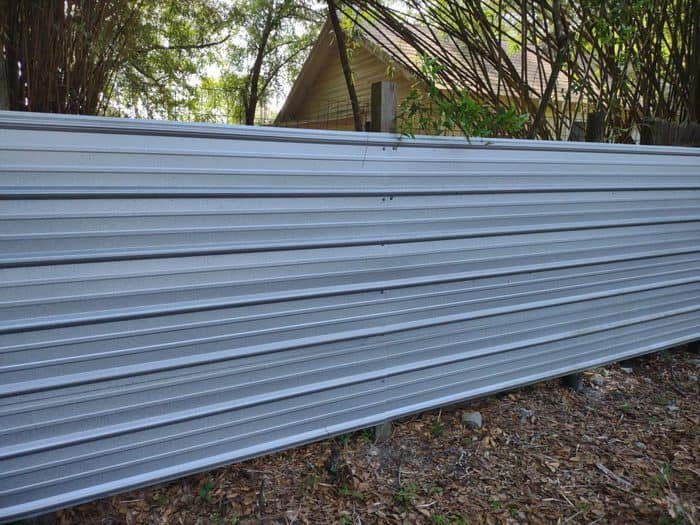
Below are a few examples of different corrugated metal used for fencing.

Horizontal Corrugated Metal Fence Frame
If you want a modern look in your backyard, horizontal fencing is the way to go. Corrugated metal fence panels installed horizontally is easier than the vertical installation shown below.
There’s a couple main ways to frame your horizontal corrugated metal fence.
Panels in between Posts
Having a corrugated metal panel in between your posts breaks up the metal with wood. You can even add a 1×4 or 1×6 at the top and bottom between the posts to frame the metal in wood.
For 6 foot tall fence, install your posts 6-8 feet apart. I would only span my posts 8 feet if I was using the thicker 26 gauge panels.
If using the 29 gauge, install your posts 6 feet apart. Install a 2×2 wood member on the side of the 4×4 post aligned with the back like diagram below. Use 3 inch or longer screws to install to the 4×4.

Measure distance between the 4x4s at the top and bottom and use that measurement to cut your corrugated metal panel.
With help, hold the bottom panel up against the 2x2s and install with a 1 inch wood to metal screw. Now repeat with top panel overlapping ribs and secure to 2x2s.
Now if you want to have a good neighbor fence that looks the same on both sides, add a 1×2 wood piece on top of the metal panel mirroring the 2×2, similar to photo above.
If your panels are 3 feet wide, you shouldn’t have to cut them for a 6 foot tall fence installed horizontally. There is no need to install rails as the metal panels are sturdy enough to span the 6 feet
Panels Overlapping 4×4
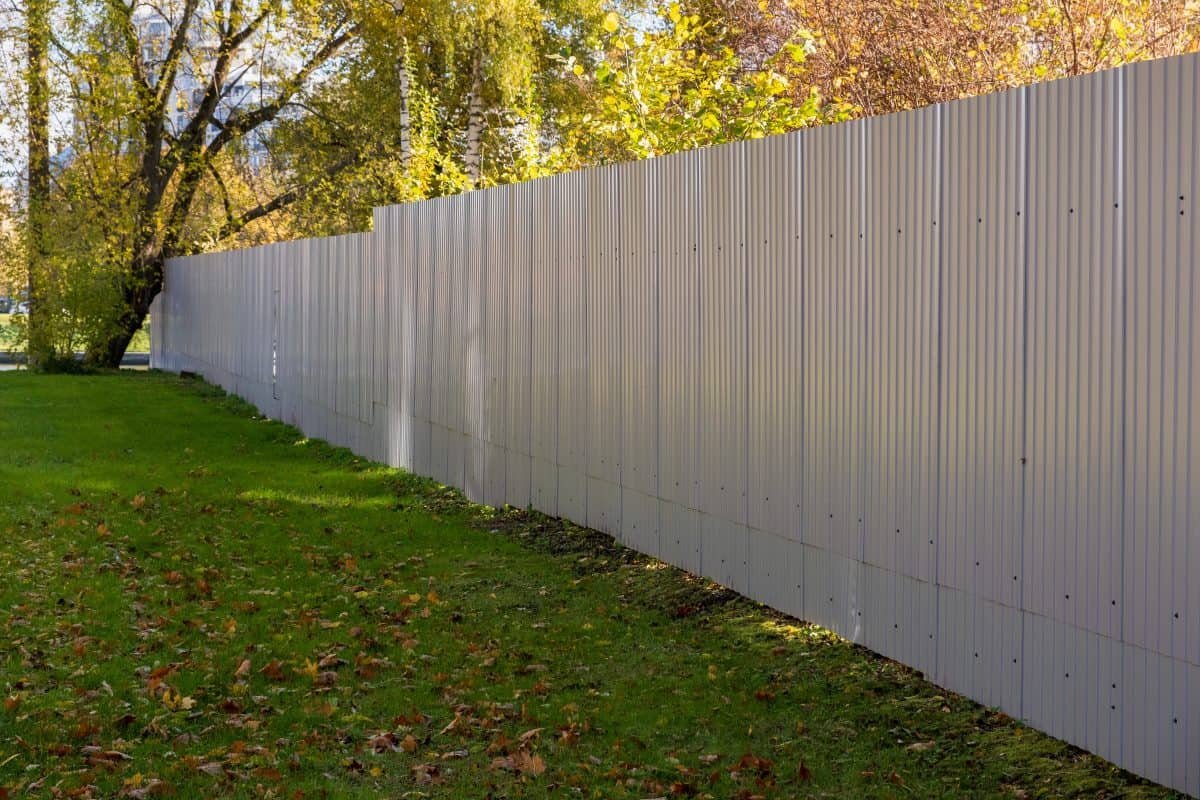
If you want a more modern aesthetic for your backyard, overlapping the 4x4s will give you a sleek metal look along your entire fence. If you don’t like the industrial look of plain metal, choose different colors to give it a warmer appearance.
We plan on planting climbing jasmine over the entire metal fence to soften up the cold metal look.
Install your 4×4 posts at 6 foot intervals along your entire fence line. Even if using quick set concrete, make sure the posts are rock hard before handing the metal panels.
Start with the bottom corrugated metal panel and with a second person, secure it in place on the first post. Install a screw on one post, towards the top middle flat section, then verify the panel is level before installing a screw on the second post.
Repeat this with the top panel making sure the bottom of the top panel and the top of the bottom panel overlap at the appropriate rib. Add a screw to secure both panels together. You may have to pre-drill the holes that goes through 2 or more panels.
Don’t add too many screws at first since you’ll need space where the panels intersect at each post and between the top and bottom panels. Only use enough screws to hold the panel loosely, then once all panels are hung, go back and screw more as needed to hold panels in place.
It is imperative that you have a second person to help hold the panels in place. This is the hardest part about this fence style installation.
You can install all bottom panels first, then top panels, or install both panels between each post. Whichever way works best for you.
At the end of the fence line, you may have to cut the corrugated metal panel. If possible, hide the cut side by rotating it to face the previous side and tucking underneath the full panel on the post.
There are two ways of addressing a corner with the two metal panels.
First, install two 4×4 posts and let the metal panels but up against each other.
Two, install a 2×2 on one side of your corner post. This way you can install the metal panels on each side of the corner post.
Even with the metal panel rib height, this should be enough area to install the metal panels along the back of fence or 90 degrees apart.
Vertical Corrugated Metal Fence Frame

If you want a more traditional vertical fence model but choose corrugated metal panels instead of fence pickets, your framing will be similar to a regular wood fence.
For a 6 foot high fence, you will build 3 horizontal rails with 2x4s spaced 6-8 feet apart.
Personally I like a 6 feet post distance when installing rails for a sturdier vertical panel fence.
Install your 6 foot tall panels vertically attaching them to each rail with a 1 inch metal to wood screw through the flat part of the panel.
If your panels are 3 feet wide, then you will get 2 panels every 6 feet which is easy to calculate for materials.
Where the panels overlap, make sure to secure the panels together with screws.
Depending of the type of metal, you may have to screw through the rib or some have an extra little flap to secure on the flat side.
I like to put a screw right before the last rib to connect both. Unlike roofing, you don’t have to worry about sealing water out.
If you want your vertical panels framed by wood posts and rails, like the picture above, you need to add a 2×2 to the top of the bottom rail and bottom of the top rail.
Install the 2×2 toward the back of the 2×4. Now install the metal panels in-between the top and bottom rail screwed through the 2×2.
With a relatively even yard, you can have all your metal panels cut to the same size height beforehand making installation easier.
But if your yard slopes in any way, you may have to cut the bottoms of the panels individually as you install them. When ordering materials, make sure the panels are long enough to account for your sloped yard.
If you want vertical metal pickets, the fence frame will be the same as above, but you will install the metal pickets just as you would with wood pickets.
Conclusion
Hopefully this article has given some good pointers on the best way to build your own corrugated metal fence. Whether you install the panels horizontally or vertically you should be able to get many years of enjoyment out of your metal fence.