How to Replace Deck Boards
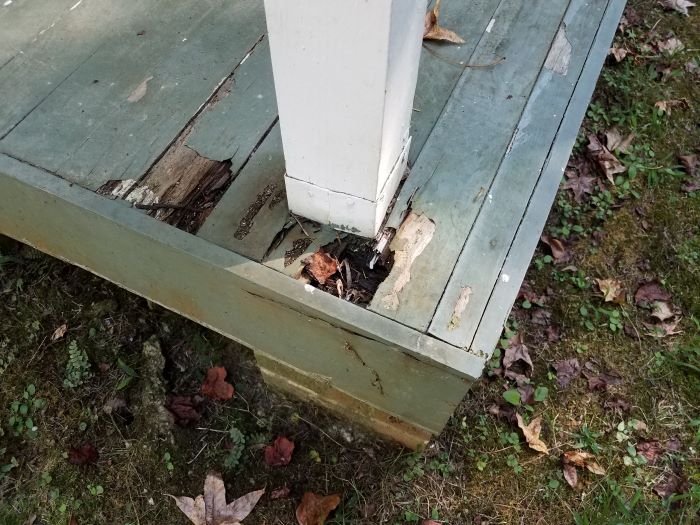
If you have a deck in your backyard, more than likely you’ll need to know how to replace a deck board as it gets older. Some deck boards tend to age differently than others. Depending on where the wood was taken from the tree, it could cup or bow more than other boards.
Sometimes in certain areas of your deck you may get more sun and the extreme heat could cause a board to split. Regardless of the various reasons for needing to replace a deck board, we’ll show you how to do it without causing damage to the frame and other deck boards.
If you’re uncertain if you should replace deck boards, we discuss in detail when to replace deck boards in a separate article.
Decking Board Attachment
How your deck board is attached to the deck framing will determine how easy it will be to remove it. We’ll go through all the various methods that decking can be attached to the framing with how to remove and replace a deck board.
Note: if you remove your deck board and find that your framing is rotten, you will need to replace the entire deck. Here’s a guide on how to build a ground level deck.
Nailed Down Deck Boards
If your deck is older, then it may be nailed to the frame. Since you’re not worrying about damaging the board you’re removing, the best way is to use a pry bar under the nail head.
You don’t want to pry on the side of the deck board if it is next to other boards without a piece of wood as a buffer. The force applied to the pry bar can cause damage to the other deck boards.
As an Amazon Associate I earn from qualifying purchases.
The pry bar to use under the nail head is called a cat’s paw pry bar. It’s very good at getting under neath a nail head to pry it up.
You have two choices for reattaching your new deck board. You can reattach by nailing it or you could upgrade to screws. If your deck framing is older and you’re replacing boards to extend the life a few more years, I’d just nail the board down.
On the other hand if you deck is newer and you want to eventually replace the deck nails with screws, then this a good time to start.
Face Screwed Deck Boards
This is probably the easiest way to remove deck board as long as you can get to the screw head. Most deck screws are a torq or square pattern so getting the right fitting bit is the key to not stripping the screw head and making removal much harder.
If the screw head is stripped, you may be able to use this screw extractor kit. If you still can’t get to it, take a large drill bit and drive holes all around the screw to loosen the wood around it.
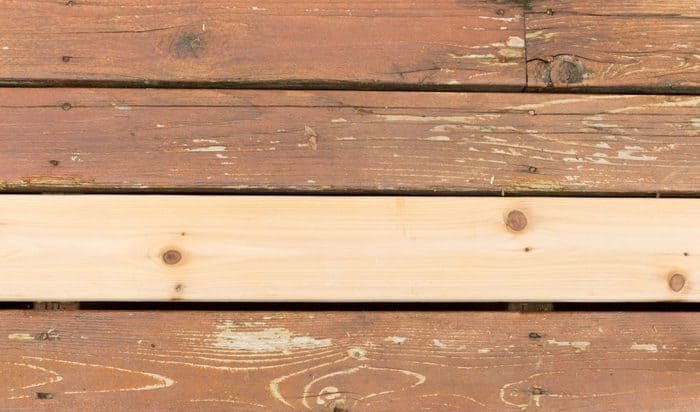
Once the old board is removed, you will need to screw in your new board. Try to take note of where the old screw holes are located and either use a slightly larger diameter screw for better holding.
Or, make new holes by fastening your screws at a slight angle. If you screw into the same holes without any modification, the deck board may not stay securely fastened.
Hidden Screw Deck Boards
The “Camo System” uses screws at an angle on the side of a deck board. They have a small torq head so it’s important to use the correct size bit. Finding the correct angle for removal is also key. I recently tried to remove a deck board installed with Camo screws and stripped several heads due to not having the bit at the correct angle.
When you’re ready to install your new deck board, you will need a Camo fastener tool to make the job easier. Try to make sure you’re installing the screws in new holes for better holding strength.
Other Hidden Deck Fasteners
If you deck was installed with hidden fasteners, it will be the most difficult to remove and reinstall a new deck board. All hidden deck fasteners are attached to the side bottom of a deck board. You will need to cut the board that you want replaced down the center.
Make two cuts about an inch apart in the center the whole length of the board. To not damage the joists underneath, make sure your cut depth is the same as your decking board. Most deck boards are an inch thick. If you deck board butts up to your house, you will need to finish the cut with an oscillating tool.
Remove the middle piece and take a pry bar and carefully pry the ends off the hidden fasteners. Place your pry bar over the joist rather than the adjacent deck board to avoid damage.
Once the old board is removed, your new board will probably need to be faced screwed on one side and plugged so it will match the remaining boards. If in doubt, check with the hidden fastener manufacturer instructions.
Conclusion
Hopefully we’ve given you some good tips for easy deck board removal and how to replace a deck board. It is very gratifying to be able to do these little jobs around your backyard without any help. As long as you have the right tools, this project is very easy to complete, no matter your DIY experience.
To keep your deck boards in good shape, pressure wash your deck yearly and stain your deck every few years to help them last longer.